Building a kegerator converts a standard refrigerator or chest freezer into a functional draft beer dispenser. When you learn how to build a kegerator, you can serve cold, fresh beer on tap. A DIY kegerator costs significantly less than a pre-built commercial unit. Moreover, it delivers comparable performance and a personalized setup.
Table of Contents
- Why DIY Kegerators Are Growing in Popularity
- Components You Need Before You Start Building a Kegerator
- Choosing the Right Base Unit to Build a Kegerator
- Step-by-Step Build Process
- Temperature, Pressure, and Carbonation Settings
- Ongoing Maintenance After the Build
- Cost Breakdown: DIY vs. Pre-Built
Why DIY Kegerators Are Growing in Popularity
Home draft systems have moved well past the novelty stage. The kegerator equipment market is projected to grow significantly. According to Future Market Insights (August 2025), the market will grow from $1,229.8 million in 2025 to $2,041.6 million by 2035, at a 5.2% CAGR. Single-tap models dominate with 54.0% of market share. This aligns closely with what most home builders construct first.
The residential segment is forecast to capture 67% of global kegerator market revenue in 2025. Rising home entertainment trends drive this growth. Additionally, consumers show growing interest in replicating bar-quality experiences at home. According to Future Market Insights, this trend continues accelerating.
Survey data from Global Growth Insights (November 2025) reinforces this momentum. Nearly 58% of U.S. consumers prefer freshly poured drinks at home. Furthermore, nearly 52% cite fresher beverages as a primary reason for owning a draft system.
The appeal is practical and experiential. Draft beer served at proper temperature and pressure tastes noticeably better than canned or bottled beer. Additionally, how to change a keg is a skill worth learning before your first pour. A well-built home unit reduces packaging waste. In fact, 46% of consumers cited waste reduction as a motivation for adopting kegerators, per Global Growth Insights.
Components You Need Before You Start Building a Kegerator
Understanding the full parts list prevents mid-build delays. It also prevents expensive mismatches. Every kegerator build requires the same core components regardless of the base unit chosen.
Core components:
- Refrigeration unit: A chest freezer (5 to 7 cubic feet is standard for a single keg) or an upright fridge with a modified door
- CO2 tank: A 5 lb tank is the most common starting size for home builds
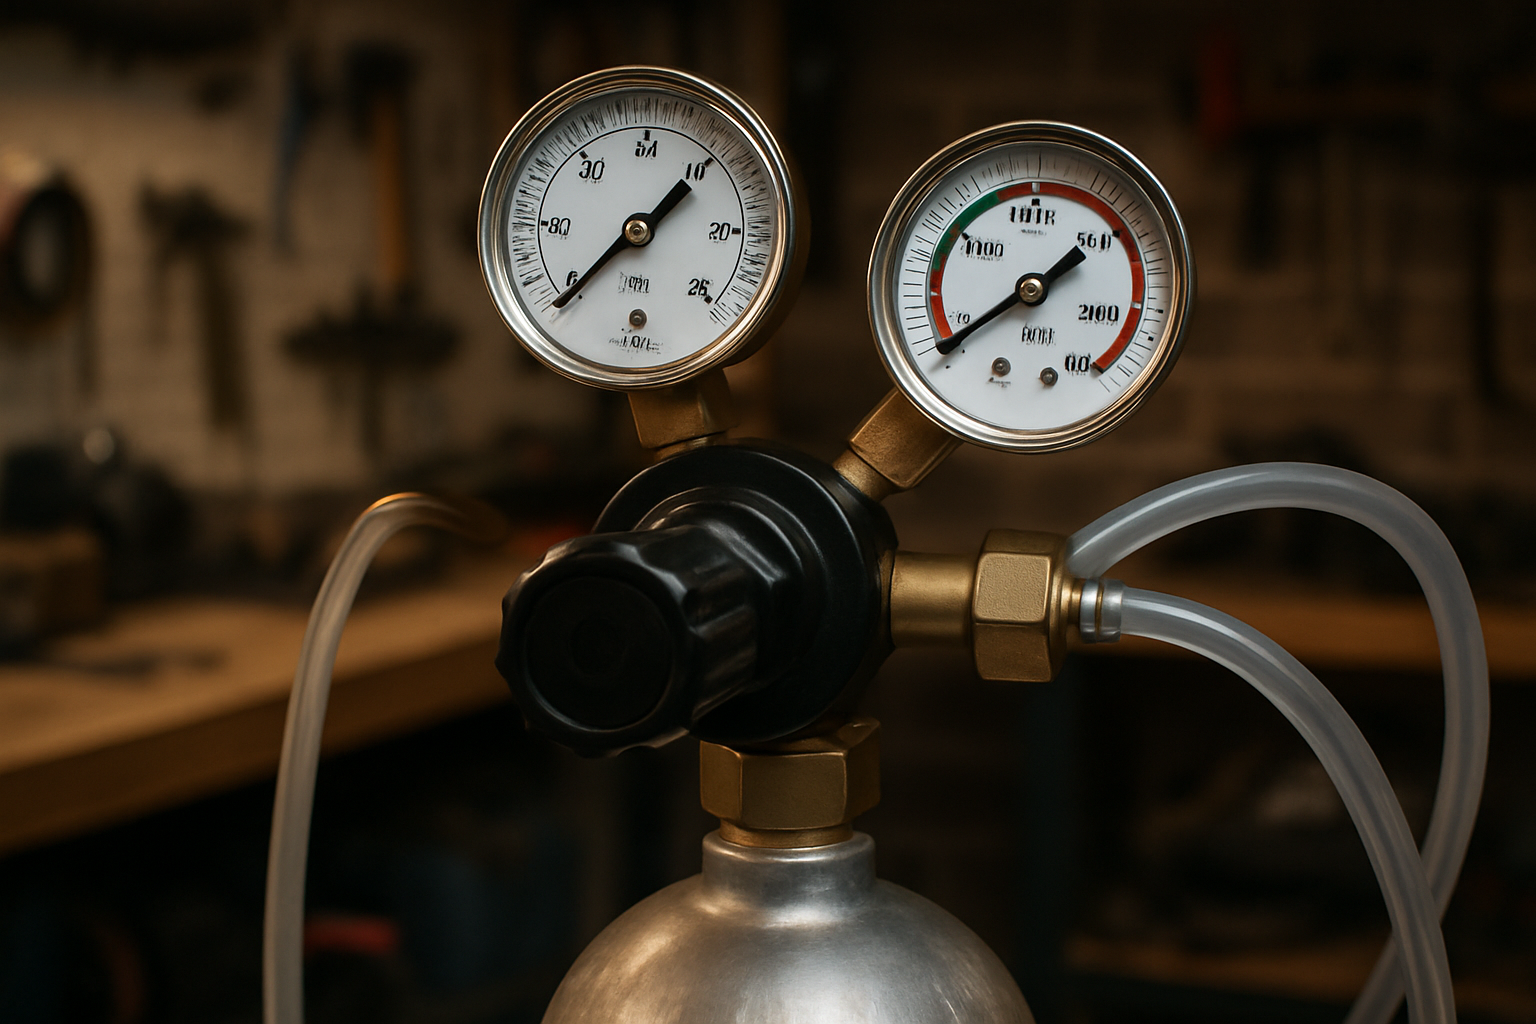
- CO2 regulator: A dual-gauge regulator allows monitoring of both tank pressure and serving pressure
- Draft tower or shank: A tower mounts on top of a chest freezer; a shank and tap mount through the door of an upright unit
- Beer faucet: Standard U.S. faucets use the Perlick or standard American design; stainless is preferred for hygiene
- Beer line: 3/16-inch ID vinyl tubing is typical for home builds; food-grade only
- Keg coupler: Must match the keg type — most domestic kegs use a D-type (American Sankey) coupler
- Drip tray: Catches overflow and keeps the area clean
- Gas disconnect and liquid disconnect: Required for ball-lock or pin-lock homebrew kegs
If you plan to use commercial half-barrel or quarter-barrel kegs, a standard D-type Sankey coupler is the correct choice. This works for nearly all major U.S. domestic brands. Learning how to clean beer lines will keep those kegs tasting fresh. Moreover, proper cleaning ensures your system serves quality beer throughout its service life.
Choosing the Right Base Unit to Build a Kegerator
The base unit decision shapes the entire build. Each option has real trade-offs.
| Base Unit | Pros | Cons | Estimated Cost |
|---|---|---|---|
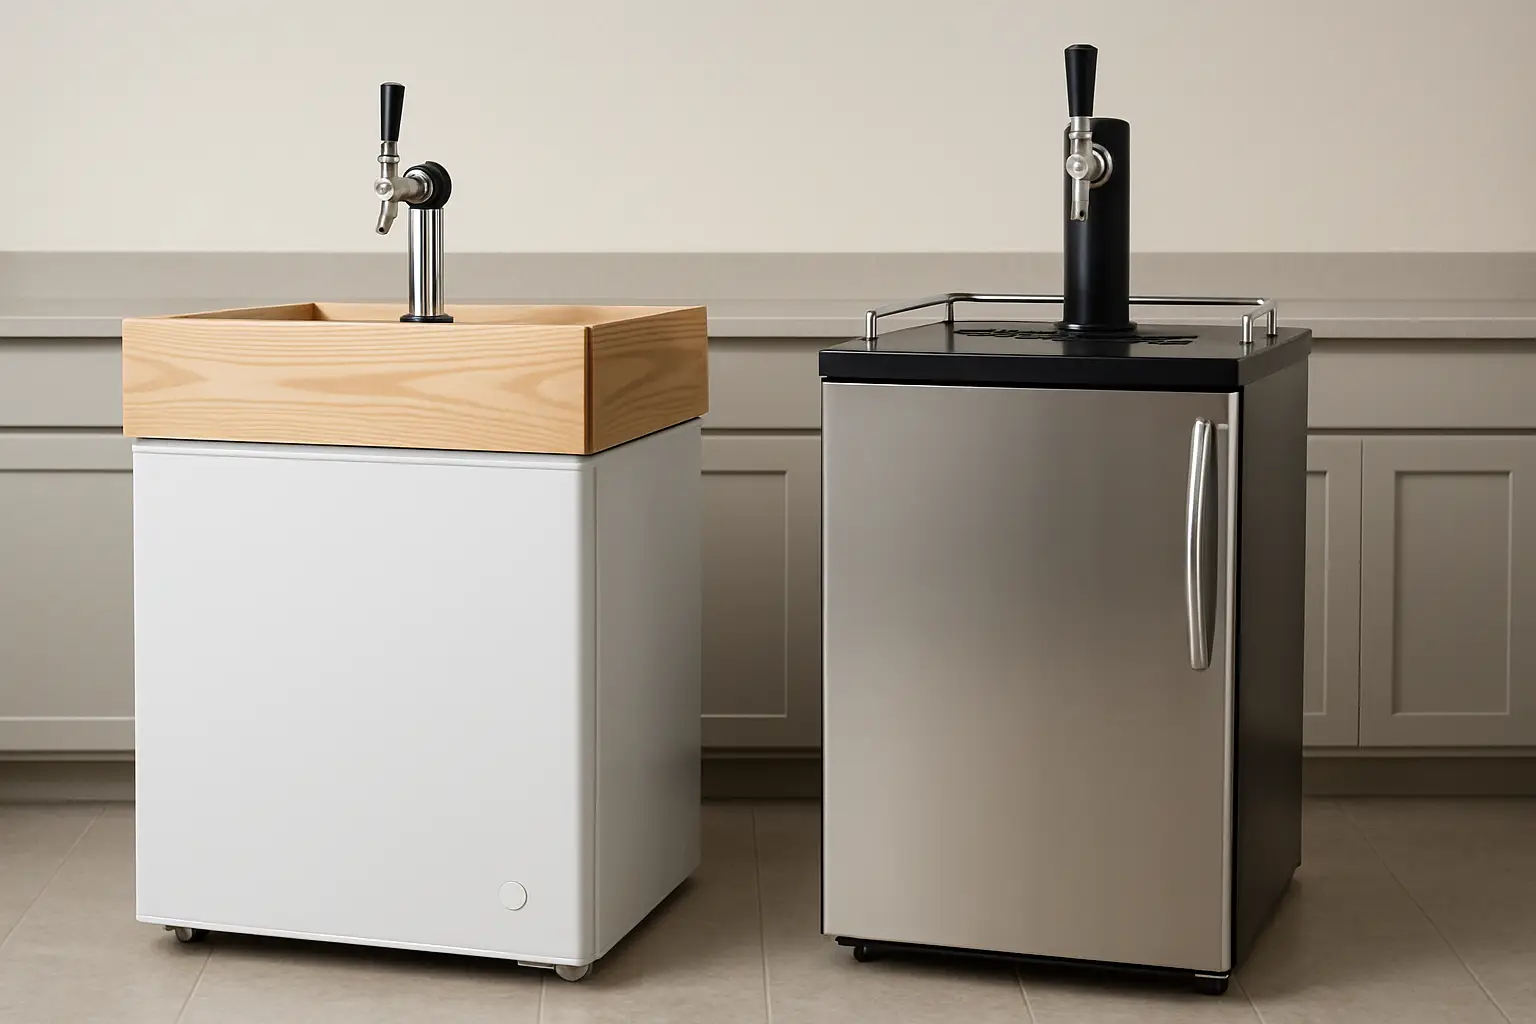
| Chest freezer (5-7 cu ft) | More insulation, fits full-size kegs, cheaper | Requires wood collar for tap mount | $150-$300 |
| Upright mini-fridge | Compact, easier tap mount through door | Limited keg size options | $100-$250 |
| Full-size upright fridge | Multi-keg capacity, existing shelves | Larger footprint, higher cost | $200-$500 |
| Dedicated kegerator conversion kit | Easier build path, parts matched | Less customizable, may cost more | $200-$400 (kit only) |
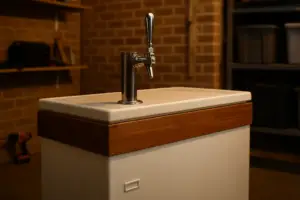
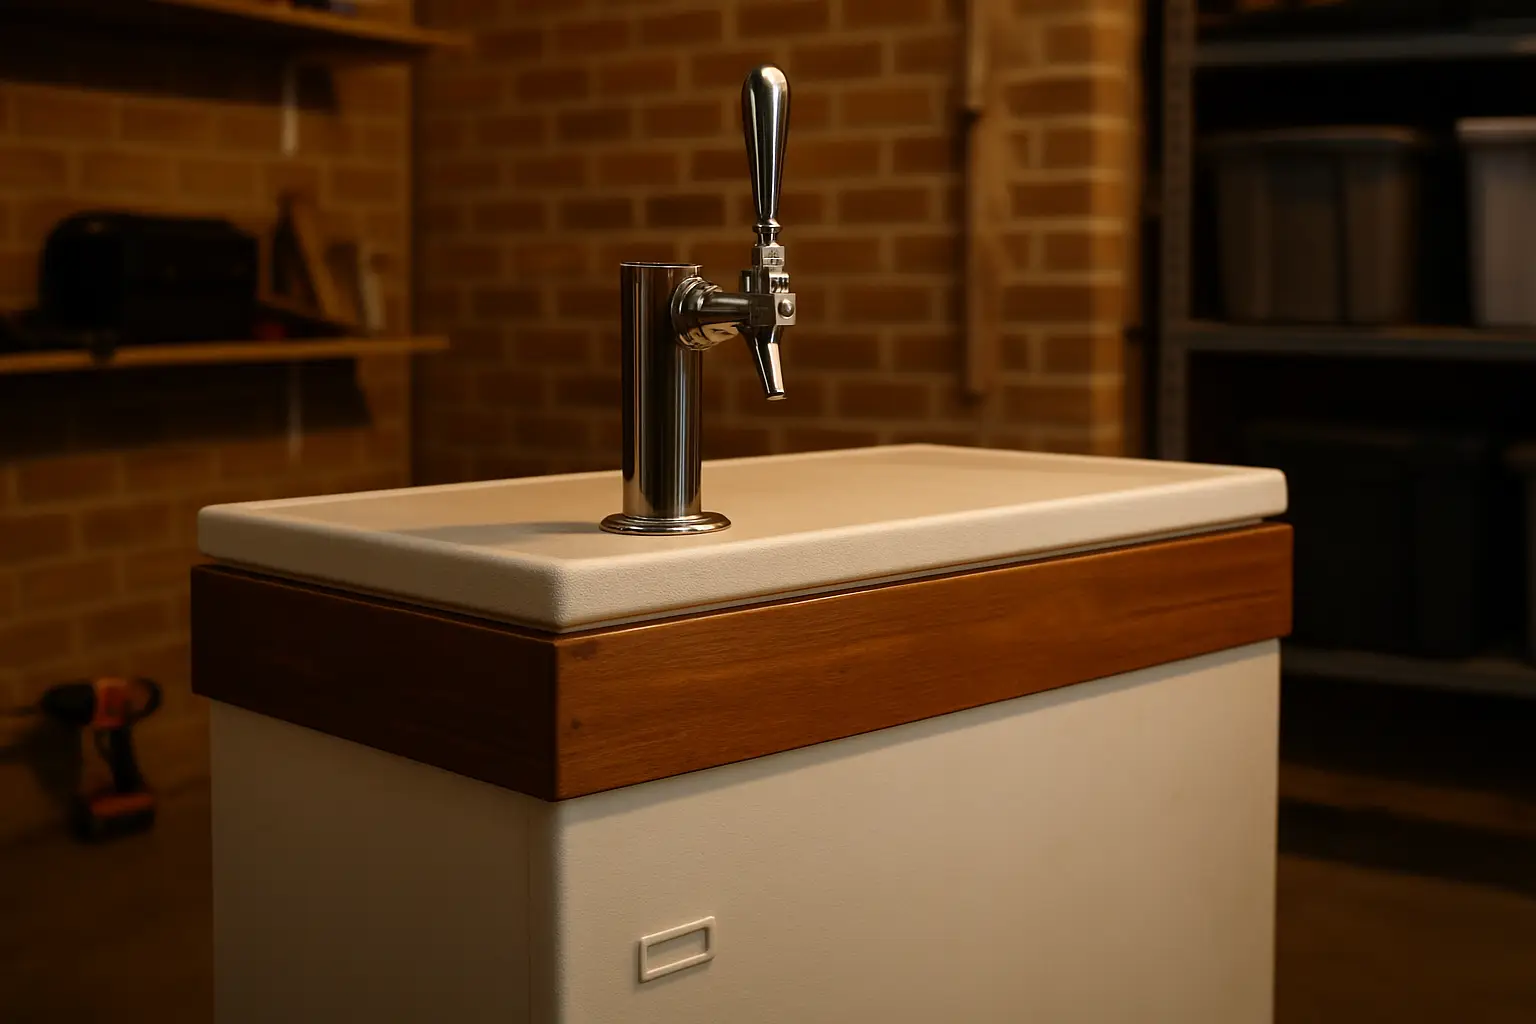
Chest freezers are the most popular choice for DIY builds. Their deep interior accommodates a standard half-barrel (15.5 gallons) or a quarter-barrel (7.75 gallons) keg without modification. However, a wooden collar must be built. The collar attaches at the lid to allow a draft tower to mount cleanly above the insulation layer.
A wood collar is typically constructed from 2×6 or 2×8 lumber. Cut it to match the exact perimeter of the freezer lid opening. Then seal it with food-safe caulk. This prevents warm air infiltration. The tower bolts through the collar into the chest cavity. The beer line runs from the keg coupler up through the tower to the faucet. Additionally, understanding beer line cleaning frequency is essential. Schedule cleaning every two weeks for regularly used systems.
Step-by-Step Build Process
This sequence assumes a chest freezer build with a single-tap tower. It represents the most common DIY approach.
Step 1: Source and test the refrigeration unit
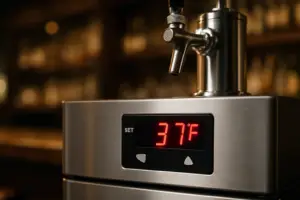
Before purchasing, verify the freezer reaches and holds 35 to 38°F. This is the standard serving temperature range for most lager and ale styles. A freezer thermostat controller (such as a Johnson Controls or Inkbird unit) may be needed. It prevents overcooling, since chest freezers are designed to go below 32°F.
Step 2: Build the wooden collar
Cut 2×6 lumber to match the freezer lid perimeter. Use wood screws and wood glue at corners. Then seal all interior edges with food-safe silicone caulk. Sand exterior surfaces and apply a food-safe finish or paint if desired. Drill the tower mounting hole through the collar before attaching it.
Step 3: Mount the draft tower
Set the tower into the drilled collar hole. Run the beer line down through the tower body into the chest cavity. Secure it with the mounting hardware included with the tower.
Step 4: Install the CO2 system
Mount the CO2 tank inside the chest for compactness or outside. Attach the dual-gauge regulator to the tank valve. Run the gas line from the regulator to the keg coupler’s gas inlet port.
Step 5: Connect the keg
Place the keg inside the chest. Knowing how to change a keg properly matters here. Connect the coupler’s probe into the keg spear. Turn the handle to lock. Then connect gas and liquid lines. Never over-pressurize during initial connection.
Step 6: Set serving pressure and purge lines
Open the CO2 valve slowly. Set serving pressure between 10 and 12 PSI for most domestics served at 38°F. Pull the faucet handle to purge air from the beer line. Discard the first pour. It will be mostly foam and air.
Step 7: Confirm seals and check for leaks
Apply a thin layer of sanitizing spray or StarSan solution around all connections. Bubbling indicates a gas leak. Tighten fittings as needed before serving.
Temperature, Pressure, and Carbonation Settings
Getting these two variables wrong is the most common reason a home kegerator produces flat or foamy beer. Therefore, temperature and pressure are interdependent and must be balanced correctly.
Most American lagers (Budweiser, Coors, Miller) are carbonated to approximately 2.5 to 2.7 volumes of CO2. At 38°F serving temperature, that typically requires a serving pressure of 10 to 12 PSI. Craft ales and IPAs may pour better at slightly lower pressures. In contrast, their carbonation levels vary depending on the brew style. A carbonation chart (available from the American Homebrewers Association) maps CO2 volume targets to the correct pressure-temperature combination.
Beer line length also matters significantly. Understanding how to clean beer lines becomes essential once you’re serving regularly. Standard 3/16-inch ID vinyl tubing creates approximately 3 PSI of resistance per foot. A 5-foot beer line running at 12 PSI will balance correctly for most applications. However, longer lines or lines with elevation changes require pressure adjustments.
Ongoing Maintenance After the Build
Building the unit is only the beginning. Draft systems accumulate yeast, bacteria, and beer stone inside the lines with every pour. Neglecting maintenance produces off-flavors and reduced head quality. Over time, contamination ruins entire kegs.
Maintaining your system properly is non-negotiable. Understanding beer line cleaning frequency is crucial. Industry guidelines recommend cleaning every two weeks for actively used systems. A home kegerator that sees regular use over weekends should be cleaned on a similar schedule. Do this even if the keg has not been fully emptied. Yeast cells begin adhering to line walls within days of the first pour.
The faucet should be disassembled and soaked in cleaning solution each time the lines are cleaned. Additionally, the coupler’s internal parts should be inspected for wear. Replace them seasonally if the unit is used frequently.
Cost Breakdown: DIY vs. Pre-Built
One of the primary motivations for learning how to build a kegerator is cost savings. The comparison below reflects realistic U.S. market prices. It shows costs for mid-range components a typical home builder would purchase.
| Item | Estimated Cost |
|---|---|
| Chest freezer (used/refurbished) | $100-$200 |
| Thermostat controller | $30-$60 |
| CO2 tank (5 lb, filled) | $60-$100 |
| Dual-gauge regulator | $40-$80 |
| Draft tower (single tap) | $50-$120 |
| Beer faucet (stainless) | $25-$60 |
| Beer line, coupler, hardware | $30-$60 |
| Lumber for collar | $15-$30 |
| Total DIY Estimate | $350-$710 |
| Pre-built single-tap kegerator | $500-$1,200+ |
A quality DIY build can come in under $500 when used equipment is sourced locally. Platforms like Facebook Marketplace or Craigslist offer great options. Pre-built units offer convenience and warranties. However, they rarely match a custom build for interior space or tap flexibility.
For bar and restaurant operators in the New York, New Jersey, and Connecticut area who need commercial-grade draft system installation, Beer Line Cleaning USA specializes in direct-draw and long-draw glycol system installation. Additionally, we handle repairs and ongoing maintenance. Understanding how much does beer line cleaning cost is a useful reference point. It helps operators budget commercial draft system upkeep.
The kegerator market reflects a broad and growing appetite for draft beer quality at home. According to Growth Market Reports (August 2025), the global kegerator market was valued at $1.38 billion in 2024. Moreover, it is expected to reach $2.41 billion by 2033 at a 6.4% CAGR. For U.S. consumers, building rather than buying is increasingly viable. Parts availability has improved. Furthermore, online resources have made the technical side more accessible.
A well-built DIY kegerator, maintained properly, can serve draft beer at bar quality for years. The investment in components pays off quickly for any household that regularly purchases craft or imported beer. In fact, the per-pint cost of draft is almost always lower than canned or bottled equivalents when buying by the keg.
Things to Know
- A standard D-type (American Sankey) coupler fits nearly all major U.S. domestic kegs. However, homebrew ball-lock or pin-lock kegs require entirely different disconnects. Verify keg type before purchasing a coupler.
- Chest freezers run colder than 32°F by default. This will freeze the beer inside the keg. A standalone temperature controller is not optional on a chest freezer build; it is a required component.
- CO2 tank fills are sold by weight, not pressure. A 5 lb tank that reads low pressure on the output gauge may still have usable gas. However, a tank reading low on the tank-side gauge is nearly empty. It needs a refill before the next keg.
- Foam problems are almost never caused by a single factor. Warm lines, incorrect serving pressure, dirty faucets, and beer line that is too short can all produce excessive foam independently or in combination. Diagnose systematically rather than adjusting CO2 pressure first.
- Food-grade materials are non-negotiable throughout the build. Standard vinyl from a hardware store may contain plasticizers. These leach into beer and affect flavor. Purchase vinyl tubing rated specifically for food and beverage contact.
- Condensation inside the chest cavity can corrode metal fittings over time. Inspect gas line connections, keg coupler bodies, and tower shanks seasonally for rust or mineral buildup. Replace fittings that show visible corrosion.
Start Pouring Better Beer at Home Today
Putting together a quality kegerator setup is a rewarding project. However, getting the most out of it depends on keeping the system clean. Proper maintenance from day one is essential. Beer Line Cleaning USA provides professional draft system cleaning, installation, and maintenance services across New York, New Jersey, and Connecticut. We serve bars, restaurants, taprooms, and event venues that need reliable, expert-level support. Request a free quote today and find out how professional maintenance keeps every pour tasting exactly as it should. Reach out through the Beer Line Cleaning USA contact page to get a no-obligation quote tailored to your specific draft system needs.
Frequently Asked Questions
Q: What size chest freezer do I need to build a kegerator for a standard half-barrel keg?
A standard half-barrel keg requires a chest freezer with at least 7 cubic feet of interior capacity.
A half-barrel keg is 15.5 gallons and stands approximately 23 inches tall with a diameter of about 16 inches. Most 7 cubic foot chest freezers can accommodate this size. However, interior dimensions vary by brand and model. Always measure the interior depth, width, and height of the specific freezer before purchasing. Some units have compressor humps that reduce usable floor space.
Q: Can I use a regular refrigerator instead of a chest freezer for a DIY kegerator build?
Yes, a standard upright refrigerator can be converted into a kegerator, though it requires different modifications than a chest freezer build.
With an upright fridge, the tap faucet and shank mount through the door rather than through a wooden collar on top. The main limitation is interior height. Full-size and quarter-barrel kegs may not fit standing upright inside a standard mini-fridge. A full-size upright refrigerator handles slim quarter-barrel kegs well. Moreover, it is a practical choice for anyone who wants a tap without building a wood collar.
Q: How long does a 5 lb CO2 tank last on a home kegerator?
A 5 lb CO2 tank typically carbonates and serves between two and four half-barrel kegs before requiring a refill, depending on serving pressure and any leaks in the system.
Exact duration varies based on how tightly the system is sealed. It depends on how often the CO2 valve is opened and closed. Even small leaks at fittings or around the regulator can drain a tank faster than expected. Weighing the tank periodically against its empty weight (stamped on the tank body) is the most accurate way to monitor remaining CO2.
Q: How often should beer lines be cleaned on a home kegerator?
Industry best practice calls for cleaning beer lines every two weeks on any actively used draft system, including home kegerators.
Yeast, bacteria, and beer stone begin accumulating inside vinyl tubing and faucet bodies within days of the first pour. Skipping cleanings produces off-flavors. These are often mistaken for a bad keg when the actual problem is biological buildup in the lines. A basic hand pump cleaning kit with food-grade caustic cleaner is sufficient for most home builds. It takes roughly 20 to 30 minutes to complete properly.
Q: Is it cheaper to build a kegerator or buy a pre-built unit?
Building a kegerator from a used chest freezer and individual components typically costs between $350 and $710, compared to $500 to $1,200 or more for a comparable pre-built unit.
The DIY route requires more time and some comfort with basic tools and plumbing connections. However, it offers greater flexibility in keg size, tap count, and interior layout. Pre-built kegerators are a better fit for buyers who prioritize convenience and manufacturer warranties. For most home brewers and beer enthusiasts who plan to use the system regularly, the DIY cost savings are meaningful. Moreover, the build process itself is straightforward once all components are sourced correctly.