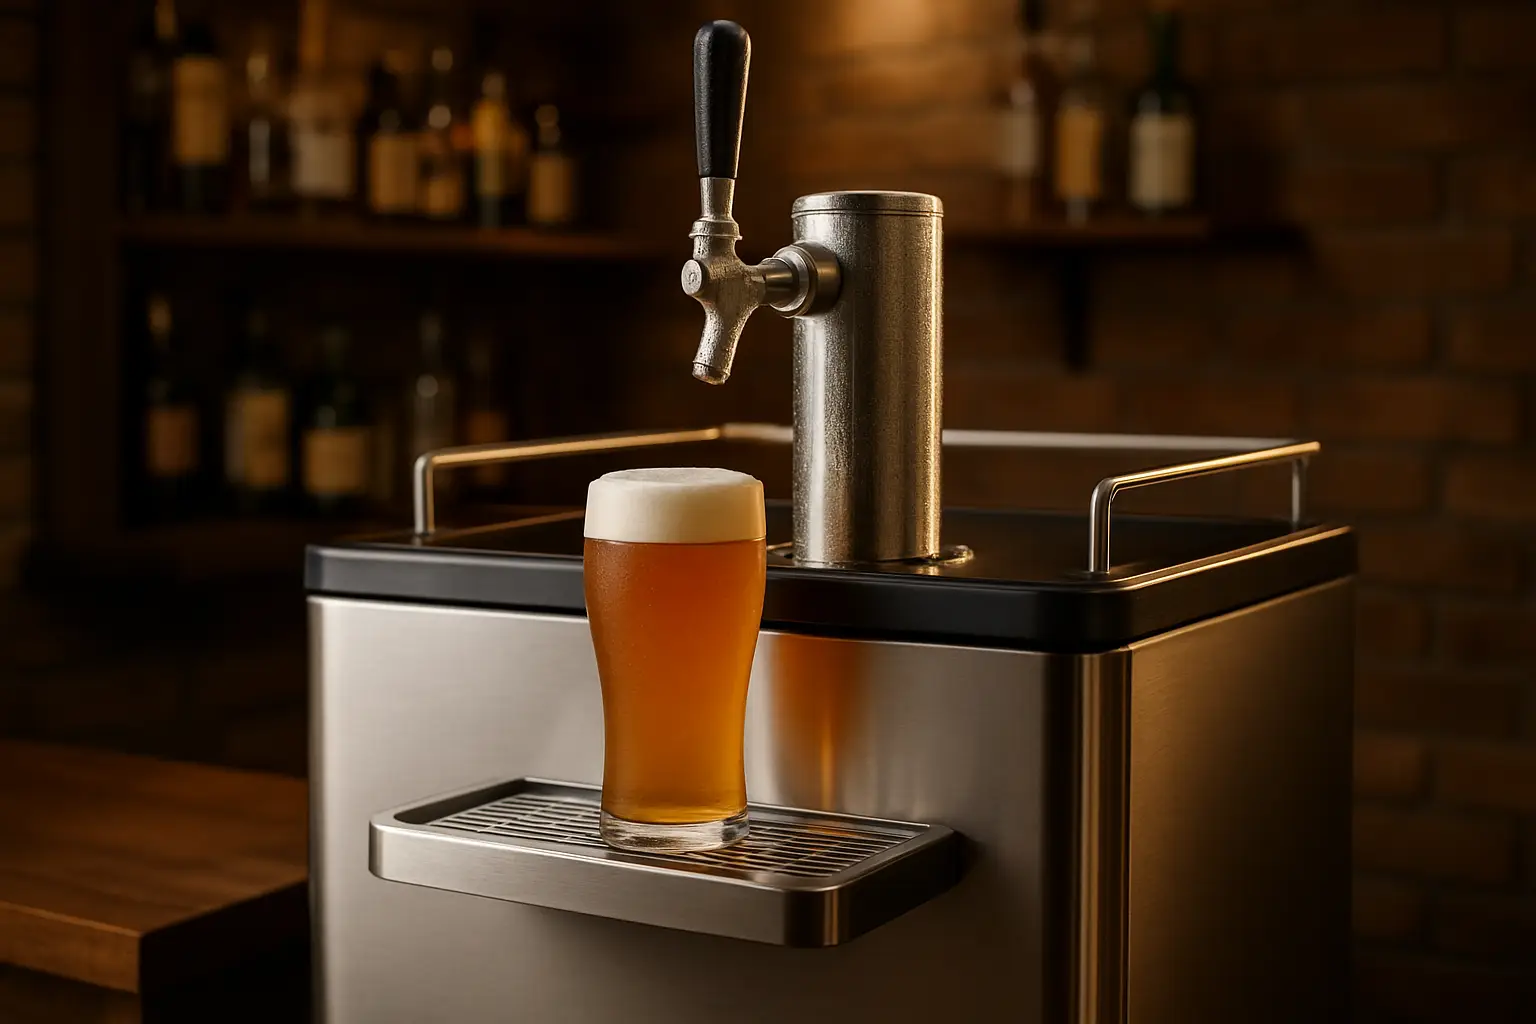
Learning how to set up a kegerator involves connecting a CO2 tank, regulator, beer line, and tap to a refrigerated keg housing. Then you calibrate pressure and temperature for a clean, consistent pour. Done correctly, the process takes a few hours and produces restaurant-quality draft beer without the recurring cost of bottles or cans.
Table of Contents
- Why Kegerators Are Worth the Investment
- What You Need Before You Start Setting Up a Kegerator
- Step-by-Step Kegerator Setup Process
- How to Set Up Temperature and CO2 Pressure
- Common Setup Mistakes and How to Avoid Them
- Ongoing Maintenance After Setup
Why Kegerators Are Worth the Investment
The growing popularity of draft systems at home is not a passing trend. Moreover, according to Future Market Insights (2025), the global kegerator equipment market is projected to grow from USD 1.23 billion in 2025 to USD 2.04 billion by 2035. This growth reflects a strong 5.2% CAGR driven by expanding residential demand.
The residential segment is expanding fastest. In fact, it shows an 8% CAGR fueled by home brewing culture and the broader DIY lifestyle movement.
Craft beer is a major driver. The Brewers Association (2024) reported that craft brewers shipped 23.1 million barrels in the United States during 2024. This figure more than doubled output relative to 2012. Additionally, approximately 115,000 households installed compact home beer dispensers in 2024. This represents a 15% increase over the prior year.
From a practical standpoint, a properly configured kegerator reduces waste. Furthermore, it maintains beer at optimal serving conditions and eliminates the logistics of restocking bottles or cans constantly. Single-tap kegerators hold the largest share of the market at 54%, according to Future Market Insights (2025). Therefore, they are the most common starting point for home users. Full-size models lead by capacity, capturing 61.5% of that segment. As a result, they are the preferred format for small commercial spaces, taprooms, and event venues.
What You Need Before You Start Setting Up a Kegerator
Before you learn how to set up a kegerator, gathering the right components is essential. Attempting to piece together an incomplete system leads to pressure leaks, flat beer, or damaged equipment.
Core components required:
- A kegerator unit (converted refrigerator or purpose-built model)
- A CO2 tank (5 lb is standard for home use; 10 lb or 20 lb for heavier use)
- A dual-gauge CO2 regulator
- Beer line tubing (3/16-inch inner diameter is standard for most home setups)
- A coupler matched to your keg brand (D-type couplers fit most American domestic kegs; Sankey S-type fits most European imports)
- A faucet and shank
- A drip tray
- Hose clamps and a CO2 line
A common oversight is coupler compatibility. Keg couplers are not universal. Using the wrong one prevents a proper seal and risks pressurizing a connection that cannot hold. Therefore, checking the brewery or distributor’s specifications before purchase saves time and avoids a frustrating first attempt.
It is also worth verifying that your CO2 tank is properly filled and hydro-tested. In the United States, federal regulations require CO2 cylinders to be hydrostatically tested every five years. An out-of-date cylinder may be refused by refill stations.
Step-by-Step Kegerator Setup Process
The following process applies to a standard direct-draw single-tap kegerator. This is the most common configuration for home and small commercial use.
Step 1: Position the kegerator and allow it to cool
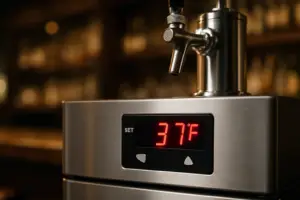
Place the unit in its permanent or semi-permanent location before loading a keg. Kegerators should sit on a level surface with at least a few inches of clearance on all sides for ventilation. Power on the unit and allow it to reach operating temperature, typically 34 to 40 degrees Fahrenheit, before adding the keg. Placing a warm keg into an uncooled unit causes foaming problems.
Step 2: Install the CO2 regulator onto the tank
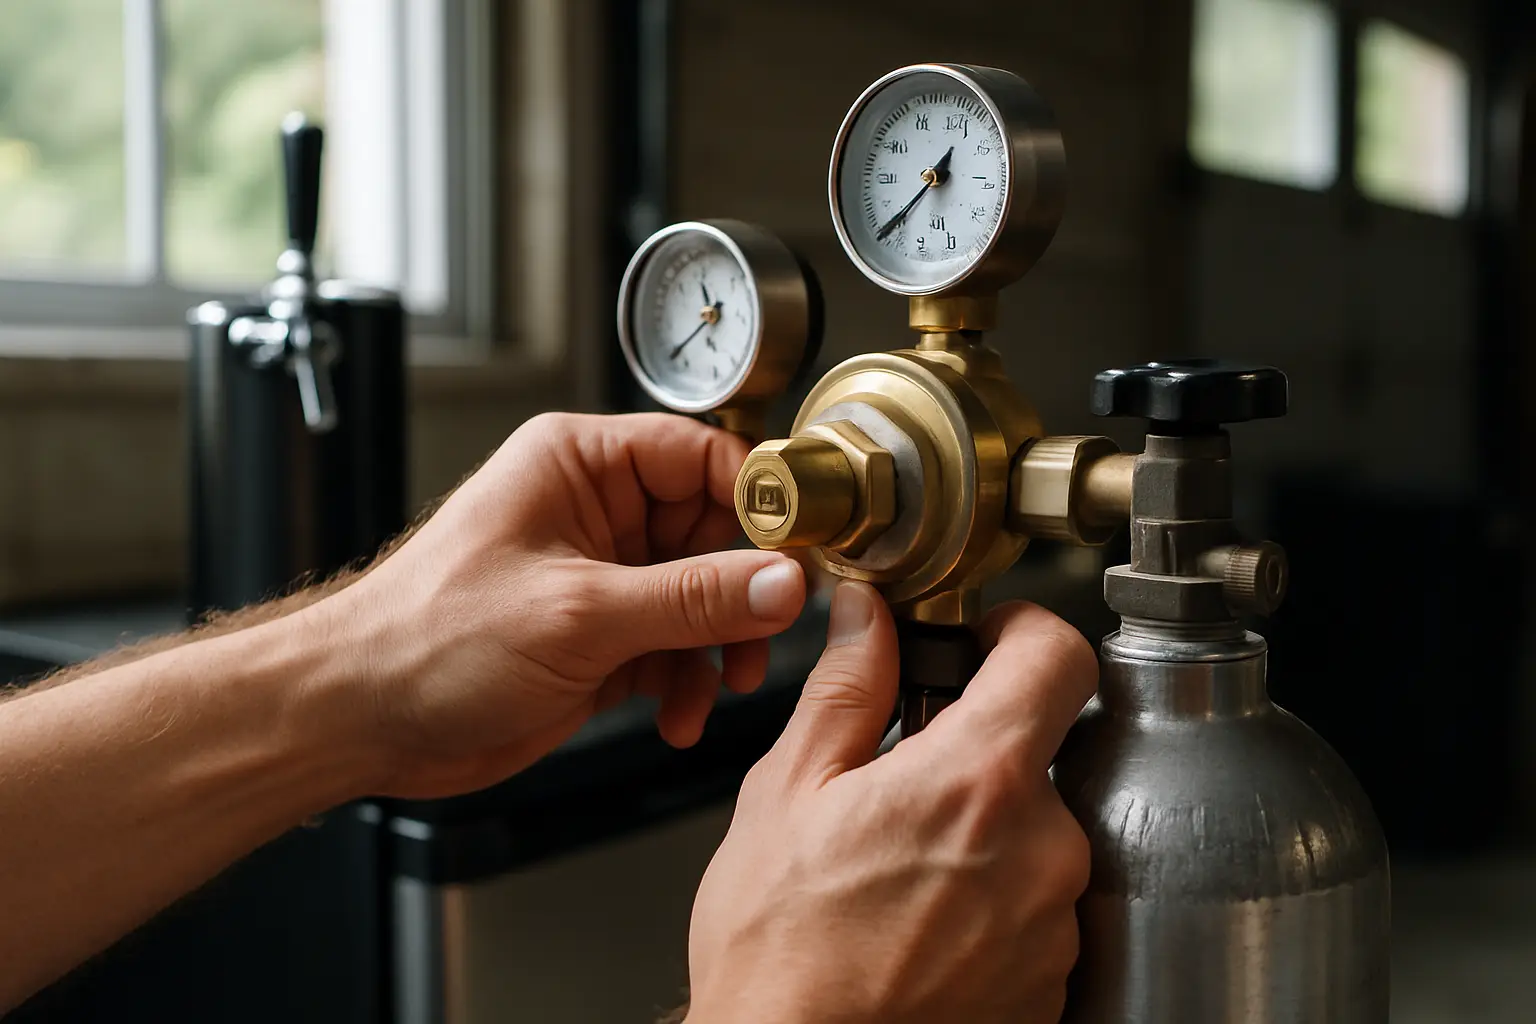
Thread the regulator onto the CO2 tank valve clockwise until hand-tight. Then use a wrench to snug it securely without overtightening. Make sure the tank is closed (valve fully clockwise) before attaching the regulator. Once connected, open the tank valve slowly and check for audible leaks at the connection point. A soapy water solution applied to the fitting will bubble if there is a leak.
Step 3: Connect the CO2 line to the coupler
Run the gas line from the regulator’s outlet to the gas-in barb on the keg coupler. Secure each end with a hose clamp, tightening until the tubing cannot pull off with moderate force. Loose connections at this stage are one of the leading causes of empty CO2 tanks and flat beer.
Step 4: Connect the beer line
Attach one end of the beer line to the liquid-out barb on the keg coupler. Connect the other end to the faucet shank inside the door or tower. Again, hose clamps on both ends. Beer line length matters: for a typical kegerator at 10 to 12 PSI, a beer line between 5 and 8 feet creates enough resistance to allow a smooth pour without excessive foam.
Step 5: Load and tap the keg
Understanding how to change a keg correctly is critical at this stage. Insert the coupler into the keg fitting and rotate until locked. Then press or turn the handle to the down position to puncture the keg valve. Always handle a pressurized keg carefully and avoid rolling or shaking it immediately before tapping.
Step 6: Pressurize and purge air
Open the CO2 tank and set the regulator to the target serving pressure (more on this in the next section). Pull the tap handle to purge any air from the beer line into a pitcher or sink. The first pour will likely be foamy; this is normal. Allow the system to equalize for 15 to 30 minutes before the first full serving pour.
How to Set Up Temperature and CO2 Pressure
Pressure and temperature are interdependent in a draft system. Getting one wrong undermines the other. Additionally, both directly affect carbonation levels and pour quality.
Serving temperature: Most American lagers and ales pour best between 36 and 40 degrees Fahrenheit. Craft ales and stouts may prefer the higher end of that range. Keeping the kegerator thermostat consistent is important. This is because fluctuating temperatures cause CO2 to come out of solution erratically, producing foam.
CO2 pressure: For most domestic beers, serving pressure falls between 10 and 14 PSI. A low-carbonation session ale may sit at 8 to 10 PSI. In contrast, a highly carbonated Belgian-style beer may require 14 to 16 PSI. The beer’s original carbonation volume (listed by the brewery or available through homebrew resources) should guide the setting.
A useful rule of thumb: if the pour is consistently foamy, lower the pressure by 1 PSI at a time. Wait 30 minutes between adjustments. If the beer tastes flat, increase by 1 PSI and allow overnight equilibration. Patience is essential because changes take time to stabilize through the full liquid volume in the keg.
Around 35% of dispensers now feature real-time monitoring for temperature and CO2 levels (2024). For this reason, they remove much of the guesswork from this calibration process. For users willing to invest in a smart system, these sensors provide meaningful advantages in consistency.
Common Setup Mistakes and How to Avoid Them
Even experienced homebrewers encounter problems during their first kegerator installation. The following mistakes account for the majority of issues reported after setup.
Skipping the leak test. CO2 leaks are invisible and costly. After every connection is made, apply soapy water to each joint, fitting, and hose clamp. Bubbles indicate a leak that needs tightening or re-seating before the system is used.
Using the wrong beer line diameter or length. Too short a line at normal serving pressure creates excessive foam. Too long a line can make pouring sluggish and difficult. Therefore, match line length to serving pressure using a resistance calculation or the generally accepted 5-to-8-foot standard for home setups at 10 to 12 PSI.
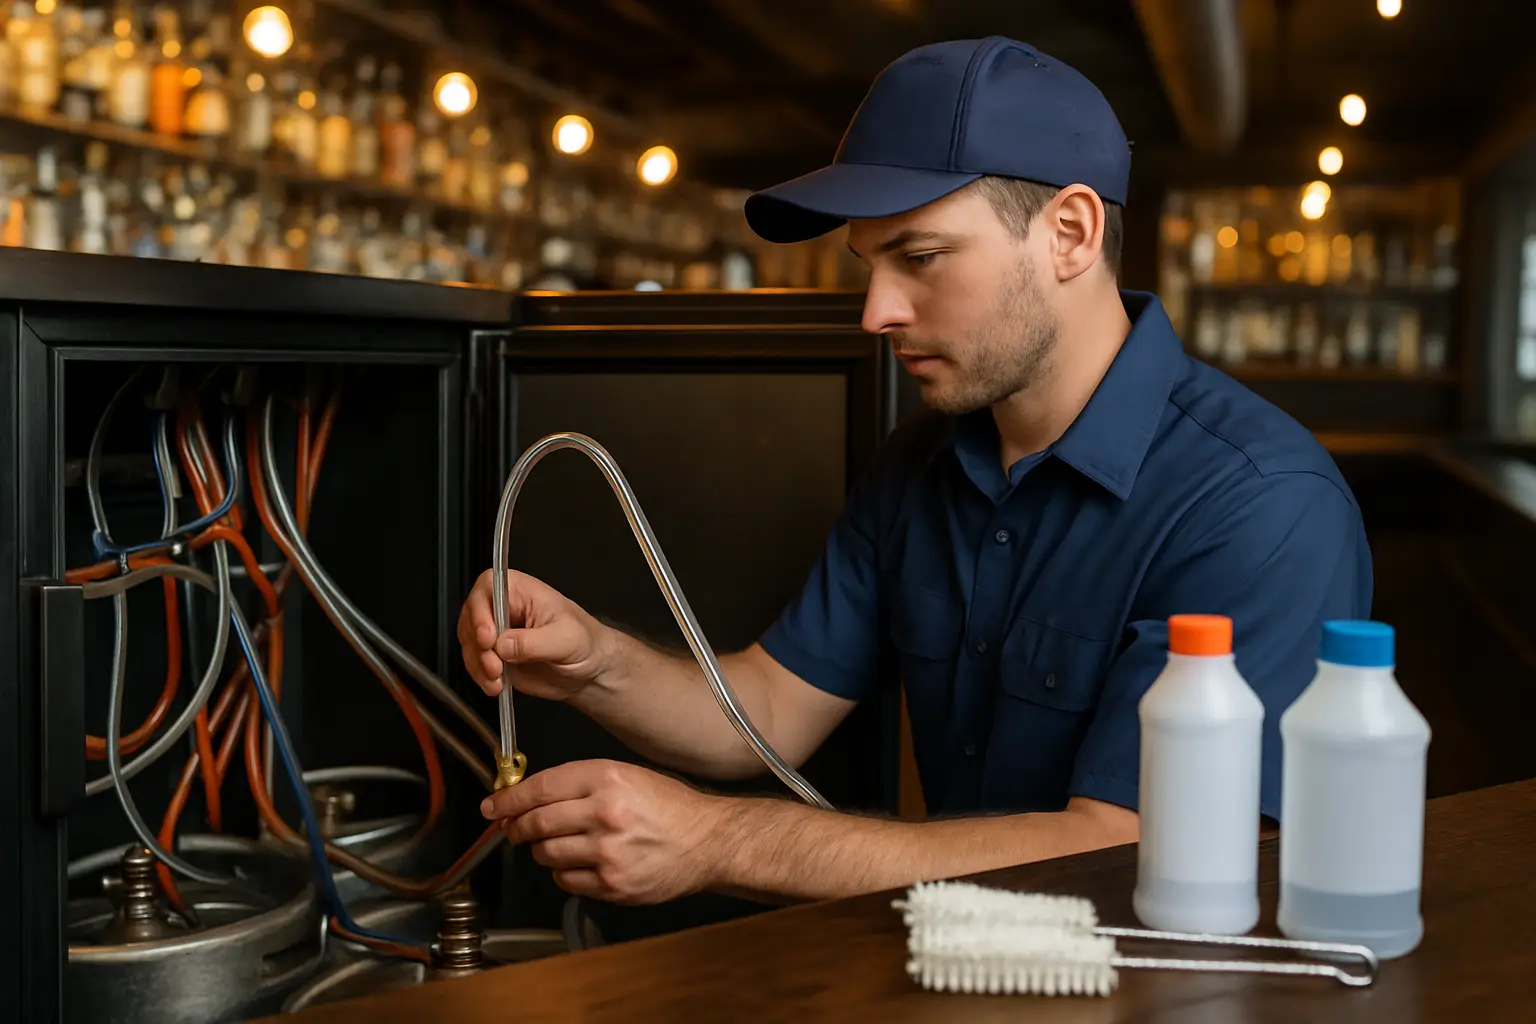
Not cleaning lines before first use. New beer line tubing may carry manufacturing residue or packaging odors that affect the taste of the first several pours. Flushing lines with a food-safe sanitizer solution before connecting to a keg is considered standard practice in the industry.
Ignoring coupler type. As noted earlier, coupler mismatch is a frequent and avoidable problem. Verify the keg brand and corresponding coupler type before purchase.
Failing to level the kegerator. A unit that is not level creates inconsistent pressure across the keg and increases foam output. Use adjustable feet or shims to level the unit front-to-back and side-to-side.
Ongoing Maintenance After Setup
A properly set up kegerator is only as good as its ongoing maintenance. Neglecting cleaning and upkeep leads to off-flavors, bacterial growth, and equipment failure.
The most critical maintenance task is regular beer line cleaning. Yeast, bacteria, and beer stone accumulate inside lines and faucets, affecting flavor. Additionally, they potentially cause health concerns. Knowing how to clean beer lines correctly is not optional knowledge for any kegerator owner. It is a foundational hygiene practice.
On the question of beer line cleaning frequency, the Brewers Association recommends cleaning draft lines every two weeks for active commercial systems. Home systems with lower volume can often extend to a monthly cycle. However, more frequent use warrants more frequent cleaning.
For those evaluating professional cleaning services, it helps to understand how much does beer line cleaning cost. This knowledge allows you to weigh the investment against the equipment’s use level and the value you place on consistent pour quality.
Additional maintenance tasks include:
- Inspecting all O-rings on the coupler and faucet every few months
- Cleaning the drip tray after every use to prevent mold and odors
- Wiping down the interior of the kegerator when swapping kegs
- Checking CO2 tank levels with the regulator gauge before events or periods of heavy use
- Lubricating faucet internals with food-grade keg lube to prevent sticking
For bars, restaurants, breweries, and event businesses operating commercial draft systems in the New York, New Jersey, and Connecticut area, Beer Line Cleaning USA provides professional installation, maintenance, and cleaning services. These services are tailored to direct-draw and long-draw glycol systems. Keeping a commercial kegerator in compliance with sanitation best practices requires expertise beyond the scope of DIY upkeep.
The kegerator market is growing precisely because consumers and businesses alike recognize the value of a well-maintained draft system. According to IMARC Group (2025), the global kegerators market reached USD 1.24 billion in 2024. This reflects sustained demand that makes proper setup and maintenance knowledge increasingly relevant. Both home enthusiasts and commercial operators benefit from this knowledge. With the right components, careful installation, and a consistent maintenance routine, a kegerator delivers reliable performance for years.
Things to Know
- Coupler type determines compatibility. There are at least six common keg coupler types used in the United States. The D-type (American Sankey) fits most domestic brands like Budweiser, Coors, and Miller. However, imported beers often require a different standard. Always confirm before purchasing.
- CO2 tank certification matters legally. In the United States, Department of Transportation regulations require CO2 cylinders to be hydrostatically tested every five years. Moreover, many local gas suppliers and homebrew shops will refuse to refill an out-of-date tank. Check the stamp on the collar before setup.
- Beer line length is a calculated decision, not a guess. The correct line length depends on serving pressure, line diameter, and the vertical rise from keg to faucet. A line that is too short at normal pressure is one of the single most common causes of persistently foamy pours.
- Temperature fluctuations destabilize carbonation. Opening the kegerator door frequently, placing it near a heat source, or setting the thermostat inconsistently causes CO2 to come out of solution between pours. As a result, this produces foam and accelerates gas consumption.
- A new keg should rest before tapping. After transport, a keg should sit undisturbed in the cooled kegerator for at least one to two hours before being tapped. Tapping an agitated keg immediately produces excessive foam that can take hours to settle.
- Smart kegerators are becoming mainstream. Approximately 35% of dispensers now feature real-time monitoring for temperature and CO2 levels (2024), giving users automatic alerts when conditions drift outside the optimal serving range.
Start Pouring Better Beer Today
A poorly configured draft system wastes CO2, ruins kegs, and frustrates guests. Whether the goal is a reliable home setup or a commercial system that performs under pressure every service, getting the installation right from day one protects the investment. Furthermore, it ensures the quality of every pour. Request a free quote from Beer Line Cleaning USA to get expert guidance on installation, cleaning, and maintenance for your draft system. Reach out today and let a certified professional assess your setup so your next pour is exactly what it should be.
Frequently Asked Questions
Q: How long does it take to set up a kegerator from scratch?
Most first-time setups take between two and four hours from unboxing to the first usable pour.
The majority of that time involves cooling the unit to serving temperature, which can take one to two hours on its own. The physical assembly of the regulator, coupler, lines, and faucet typically takes under an hour for someone following clear instructions. Additionally, allowing the pressurized system to equalize after setup adds another 15 to 30 minutes before the first clean pour is realistic.
Q: What PSI should a kegerator be set at?
Most domestic beers pour correctly between 10 and 14 PSI at a serving temperature of 36 to 40 degrees Fahrenheit.
The right pressure depends on the specific beer’s carbonation level, the serving temperature, and the beer line length. Higher carbonation styles like hefeweizens or Belgian ales may require pressure at the upper end of that range or slightly above. Therefore, adjustments should be made in 1 PSI increments with at least 30 minutes of wait time between changes. This allows the system to stabilize.
Q: How often do kegerator beer lines need to be cleaned?
The Brewers Association recommends cleaning draft lines every two weeks for actively used commercial systems.
Home kegerators with lower pour volume can often extend to a monthly cleaning cycle. However, any system used heavily or left idle for extended periods should be cleaned before and after that period. Neglecting line cleaning allows yeast, bacteria, and beer stone to accumulate, which directly affects the flavor of every pour and poses a sanitation concern over time.
Q: Can any refrigerator be converted into a kegerator?
Yes, many standard refrigerators can be converted into a kegerator, but the interior dimensions and door configuration must be verified before committing to a conversion.
A full-size keg stands approximately 23.3 inches tall and requires a unit with enough interior clearance to accommodate it along with the coupler attached on top. Chest freezers and older top-freezer refrigerators are common choices for conversion because of their interior depth. Conversion kits that include a faucet, shank, regulator, CO2 tank, and coupler are widely available at homebrew retailers. These typically cost between $100 and $250 depending on component quality.
Q: Why is my kegerator pouring foamy beer even after setup?
Foamy pours after initial setup are almost always caused by one of four issues: incorrect serving pressure, beer line that is too short, a temperature that is too warm, or a recently agitated keg.
Start by verifying the kegerator has reached and stabilized at 36 to 40 degrees Fahrenheit before drawing from the tap. Next, confirm the CO2 pressure matches the beer style. If the line length is under five feet for a standard home system, adding line length reduces velocity and foam at the faucet. Furthermore, if the keg was recently delivered or moved, allowing it to rest for one to two hours before tapping resolves agitation-related foaming in most cases.